
Summer 2013
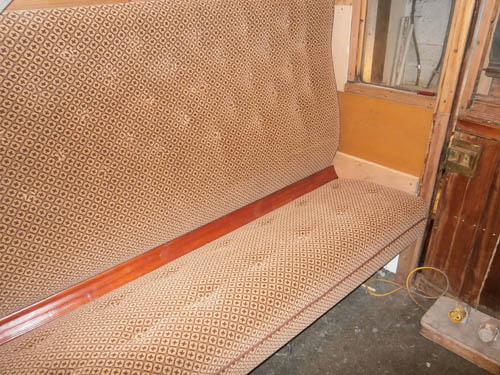
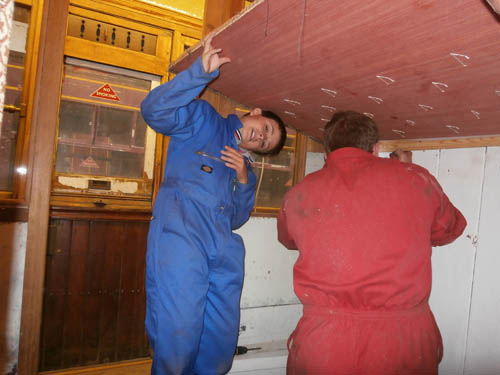
After considerable effort and time spent finding a suitable upholsterer, we found a suitable candidate firm
to make the seats and backs for the coach. The upholstering was complicated by the fact that the original seats appeared to have
been made in situ as there was no obvious way of fixing the top of the seat backs in position after they'd been covered by
moquette. We overcame this problem by putting a check in the bottom of the top crossrail which located the large piece of plywood
used to form the rest of the back. These two items were temporarily fixed together while sent to the upholsterer for the seat back
to be formed. On return, the two were separated, the moquette forming a temporary hinge which allowed the back to be held out
horizontally while the top rail was screwed to the bulkhead (as in the above picture).
Chris Smith worked on the preparation of suitable wood stock to make the rails and supports which are fitted under the
seat cushion assembly. Don & Robbie made the seat bases and also the rather complicated separator piece which supports the
bottom of the seat back and under which the seat base is tucked.
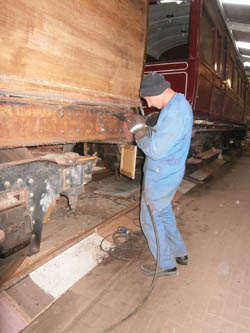
Al MacPhee chipped clean the solebar of bitumastic paint and then needle gunned away the rust. A very noisy and messy job. The solebar and headstock was then painted in primer to prevent the re-formation of rust.
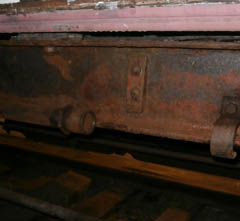
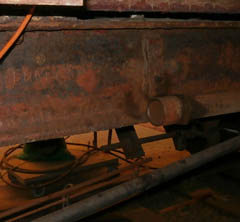
In order to clear space for the mounting of the (MGS grant financed) stepboards, the vacuum pipe section which had been formed to bridge over the departmental handbrake on the south side had to be replaced with a straight section. Removal of the bent section was a challenge to say the least. After removal of the bent vacuum pipe, Bob and Don continued with the de-scaling and de-rusting of the south side solebar.
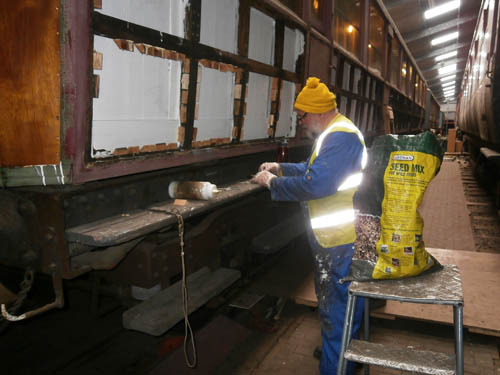
Bob Mowat continued the task of glueblocking the south west area of the coach in preparation for the start of fixing of the external teak panelling to the south side. The inside matchboarding was sealed first with aluminium primer, then intumescent paint applied before the glue blocks went in as access was easier. After glueblocking, another thick coat of intumescent paint was applied this time to include the glueblocks.
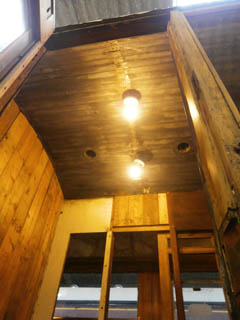
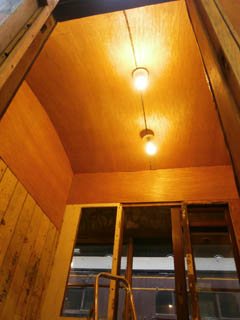
Lining of the compartment ceilings was started - the photograph shows the before and after (two adjacent compartments actually).
After pinning up the 4mm plywood, the holes for the ventilators were cut, then the whole compartment painted thickly with
intumescent paint.
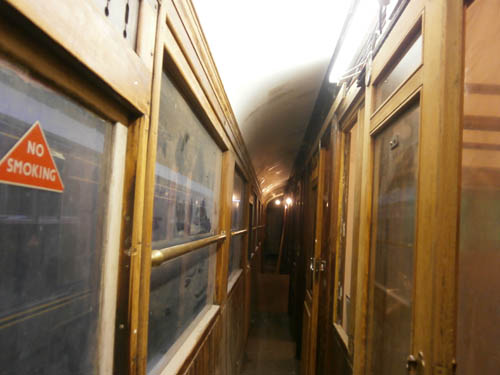
Don started lining the corridor ceiling with 4mm plywood to cover over the existing very pock marked surface which used
to be millboard (LNER's name for thick hardboard) plus all the various paints, plasters and fillers which had been applied over the years.
Bob Mowat had chipped away the various millboard coatings, but the resulting surface, although infintely better than when we started out
was still not good enough for direct painting.
The plywood retaining pins were punched flush or below, the holes filled and sanded, then intumescent paint applied before the undercoat
of matt white.
Progress ground to a halt as it was discovered that 2 steel plates on either end of the chassis were corroded and needed replacement.
The wooden body would have to be lifted off the chassis. So all the doors would have to come off and all the windows be removed. Bummer!