
Autumn/Winter 2013
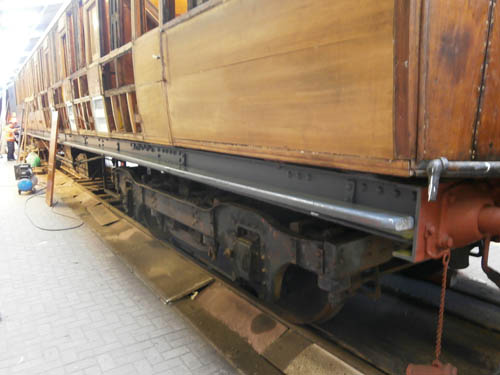
The Romney Hut team provided us with new brackets to replace the flame cut ones which used to support the
stepboards for the entire length of the carriage. The north side were fitted first as the vacuum pipe repair on the south side
was still ongoing. After bolting in place, the brackets were primed and undercoated before the stepboards themselves were
tried in place. The wood for the stepboards (seen above) was financed by a MGS grant for which we are very grateful. At
the far end of the coach you might just make out Liam from the Youth Group touching up the undercoat.
We are also very grateful to the Romney Hut team for the manufacture of replacement knee irons which were required for
the strengthening of the wooden frame. At some time in the past, the wrong type of knee irons had been fitted to
the lock side of the exterior door openings which meant that there was only one fixing bolt in the vertical part
of the frame as the second bolt would have clashed with the secondary door catch. New brackets, 7" long instead of the previous 5"
were made and these allowed the fitting of a second bolt below the door catch.
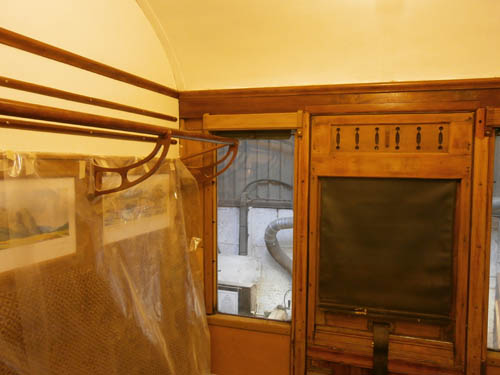
A start was made to varnishing the teak rails in compartment "A". The top rail which runs right round the compartment
walls was done as were the luggage rack poles and rubbing strips on the bulkheads. You can also see that a carriage print or two
has begun to appear behind the seating which was protected by polythene sheeting at the time.
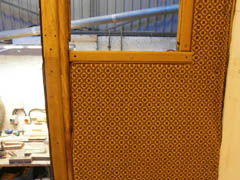
The upholstering of the end panels of the seats in compartment "A" was undertaken to see a) how to best do it and b) to
establish how much moquette would be required to upholster each compartment. We also had to establish how much tan piping was required
for each compartment, not forgetting the armrests which Don was making at his evening upholstery class.
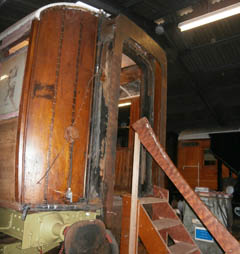
And so began the process of readying the coach body for lifting. Windows and doors were removed. Bob
started the tedious process of removing the rivets holding the bellows on to the gangway plate at the west end, as this bellows
was beyond repair. After several sessions the bellows was finally freed from the gangway plate (see right) to allow removal of the
gangway.
Jim Ormiston was directed round the coach interior to paint all the bolts securing the body to the chassis white so it would be easy
to identify their locations. These bolts would probably need to have the nuts (below the solebar) ground off then hammered upwards
to release the body from the chassis. Some, of course, are above the bogies!
We decided to make all the seat backs and bases so that they could be upholstered during the period when the body was
raised off the chassis. Chris Smith, Robbie, Don and the Youth Group were hard at it for two weeks to get all the timber prepared
then the bases assembled and painted with intuescent paint. They are all of slightly different lengths - we are not sure why as the
corridor partition seems pretty straight and so does the body exterior. The same is the case for the seat backs which were first
cut to length according to the distance from the corridor partition to the north side body framing. This created the required
profile to fit the tumble-home of the body side, but then it proved necessary in most cases to further sculpture the corridor
end of the seat back to be parallel to the partition framing.
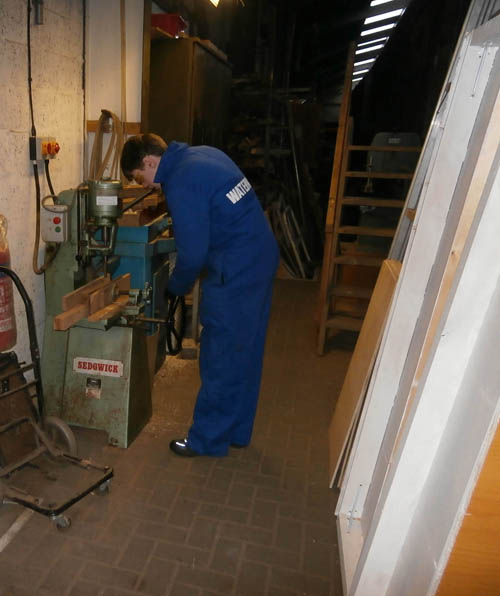
Below the seat bases there is a sloping frame at both ends of the seat. The Youth Group have been significant in the manufacture and
fitting of these frames. The photo above shows Jamie operating the morticer while making one of these frames. The painted seat backs,
stacked up and ready to go to the upholsterer, can be seen to the right of the picture
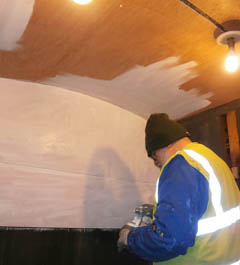
4mm plywood was used to line the compartment ceilings and also to cover the upper part of the compartment
partitions. The main panels are now all in place, only the edge mouldings left to do. Bob Mowat is seen (left) applying intumescent
paint to one of the lined compartment ceilings.
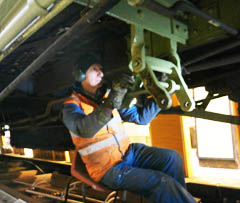
Activity was not confined to above the chassis. Al MacPhee has been hard at work needlegunning and painting parts which are
reasonably accessible below the solebar. Above right we see him painting the dynamo hanging bracket.