
Spring/Summer 2013
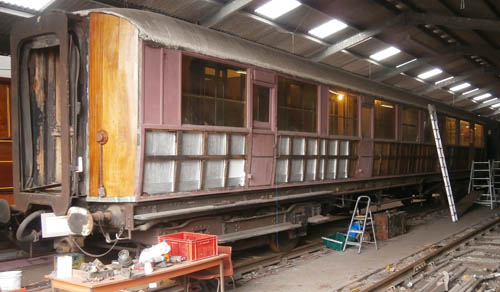
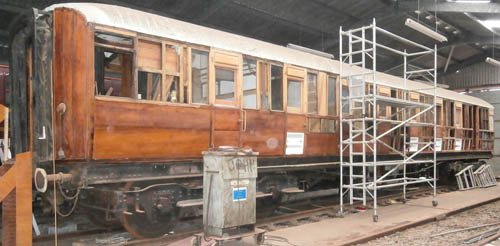
As the number of refitted exterior panels increased, it was thought that some "instant protection"
was required, so they were given their coat of goldsize. The 2 photos above were taken when the adjacent roads were cleared
during the Vintage Carriages weekend. Don't often get a chance to see the coach from any distance.
The top photo shows how busy the Youth Group have been stripping off the boards and also shows Dave Simpson's gold sizing on
the new end vertical panels. Bob Mowat's application of aluminium primer to the cavity side of the corridor matchboarding
can also be seen.
The Youth Group did a sterling job in the removal of the lower panels on the south side of the vehicle.
Getting the panels off wasn't too difficult, but pulling out the pins was a very tedious and time consuming business. Whoever
put the plywood panels on used steel pins as well as original? brass ones. Some of the brass ones came out, but the
steel ones were rusted into the teak framing and would not budge. These were clipped off as short as possible then punched
below the surface of the framing.
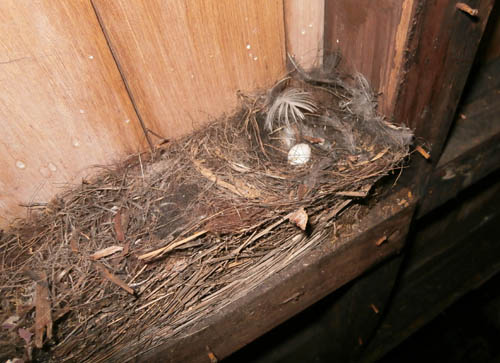
At one point a great yelp went up! "Look what we've found"! There, sandwiched between the outer board (which was coming off) and
the match boarding along the corridor was a bird's nest! How long it had been there we do not know, but there was still an (empty)
white egg in the nest. The point of entry to the nest cavity was via a rotted piece of (missing) framing on the lock side of one
of the corridor doors.
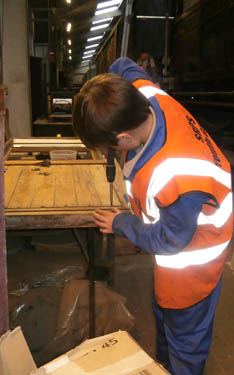
The Youth Group lads also assisted with the stripping and re-assembly of the exterior doors -
the photo shows Hector screwing the inside matchboarding to the bottom of door #8. As well as scraping all the old varnish off the
door frames and components, all the parts were sanded down ready for fresh varnish. While the doors were in pieces, the interior cavities were
sealed with aluminium primer then painted with 2 thick coats of intumescent paint.
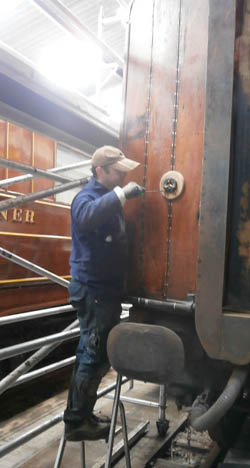
The electrical team finished fitting the RCH terminals to the coach ends. The photo show Eoin Houston working on the final one to be fitted - the north west corner. After final fitting, the RCH wiring on the insides of the coach ends was clipped into place within the framing by Al McPhee so that work could begin on furnishing the coach ends with matchboarding.
The final part of the RCH wiring was to couple the RCH cables into the lighting control box situated half way along the corridor. This was successfully completed and tested - it was possible to control 1002's lights from another coach and to control the other coach's lights from 1002!
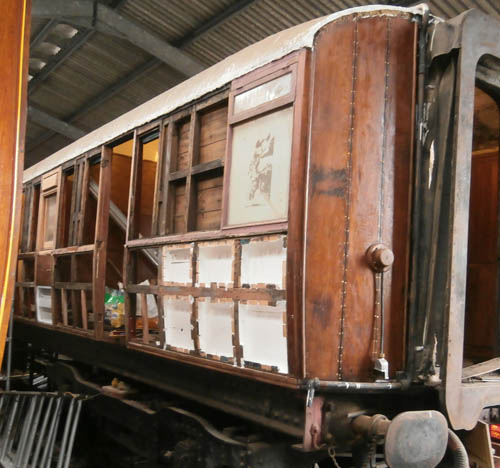
Before fitting the new boards to the coach sides, as well as repairing the framing, the cavities formed
by the boards had to be primed and intumescent paint applied as a fire retardant.
Glue blocks were also fixed in place flush with the outer surface of the framing so the new board could be glued as well as pinned
in place giving a much more secure fixing.