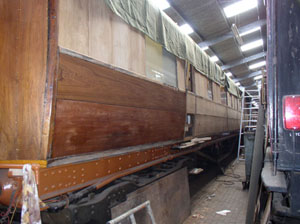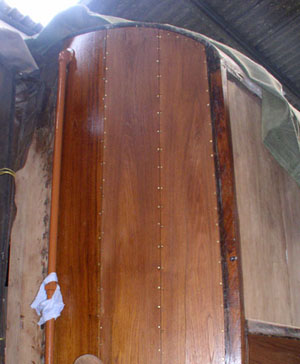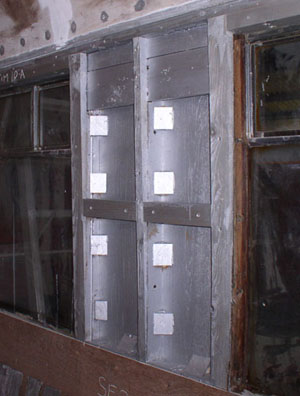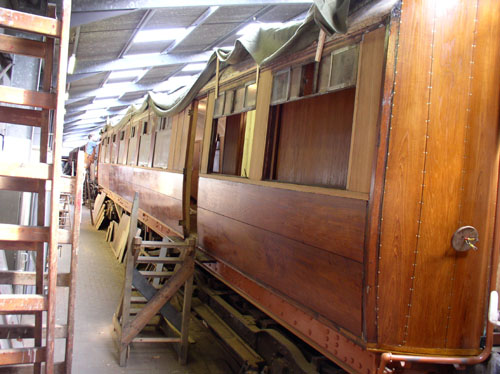
The lower body panels were all fitted during the Winter of 2004 / Spring 2005. After completion of that monumental task, fitting of the upper (vertical grain) panels was started. These panels are much easier than the big lower panels as they are thinner (5/16" thick) and are fitted as a flat rather than a curved shape. Matching up the panels as pairs was a bit of a challenge - we had only the exact number of pieces of teak to do the job so no mistakes allowed! The same fixing technique was used with these panels - drilled round the edges, then pinned with brass pins. The body of the panel was then re-enforced by glue blocking it to the framing.


The crack in the west end panel has become slightly worse as the panel dries out in the warming weather. All the fishplates
on the inside seem to be holding the panel together, though, so a cosmetic "fix" will be attempted soon. This
will be done by filling the crack with a teak sawdust/glue mixture, then sanding over the area and repeating if necessary.
Hopefully one day we will be able to run a "find the crack" competition, or is that being a bit optimistic?
All of the interior plywood panelling has been primed and has had firecheck applied. Using this same process, the inner
surface of the exterior teak panels has been protected as soon as "Mr Glue Blocks" Jim Summers has completed the fixing
process. All of the south side has been done and the north side is progressing well. A start has also been made on priming
and firechecking the tongue and groove boarding which will be used to line the kitchen corridor and both vestibules. We are
struggling to have enough usable boards for this job, even allowing for the wood recovered from the Crawford coach, so it
may become necessary to make some new tongue and groove boards from the larger boards from Crawford.


During spring 2005 all of the exterior panels were fitted and sized/varnished by the ever faithful painting department. Work during the late spring of 2005 involved the fitting of the waist and cantrail mouldings to the North side, and the fitting of the cantrail moulding to the South side. The waist rail moulding on the South side was integral with the waist rail itself and was patched in several places to make good various accidents and breakages. This involved carving out the stained or broken wood and replacement with peculiarly shaped new pieces slightly too large for the hole they were filling, then planing and sanding down until the original profile was obtained. The method of fixing the cantrail moulding was to drill and pin it at the upper edge, then glue it in place with the wonderous polyurethane glue to hold the lower edge. The lower edge was "pressured" in place with sticks jammed against the coach in the next road while the glue set.