The missing window mouldings were replaced on the North side of the coach. These
had all been removed when the side of the coach was smoothed down prior to panel replacement. As these mouldings were
originally part of the "ribs" of the coach, they were glued back in place to form a solid structure rather
than removable items.
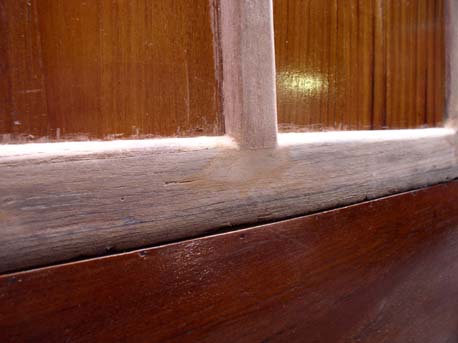
As the new waist and cant rail mouldings had been made to accomodate the window frame joints,
these junctions are simple butt affairs. It was still quite difficult to achieve a reasonably smooth transition from the
vertical to the horizontal at these joints due to unevenness in the coach sides.
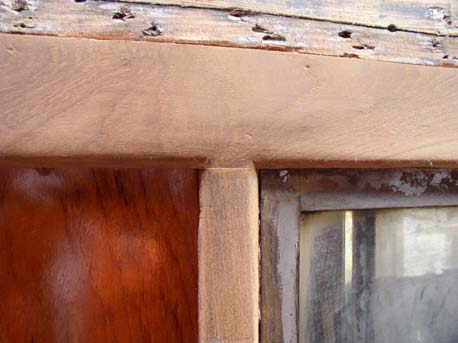
The South side was not so easy. This
photo shows a window frame (new) meeting the cant rail moulding (original). Unevenness is an understatement!


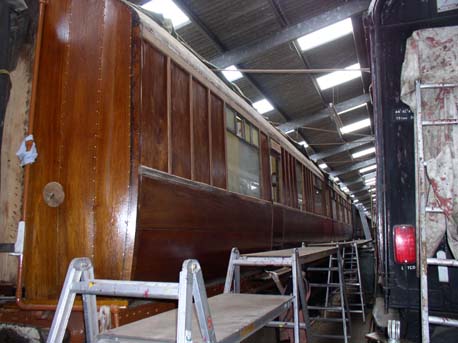
All the window framing was in place on both sides of the coach during July 2005. The next job was to make up and fix in place the vertical mouldings which cover the gap where the shorter 5/16" thick upper panels meet. The view to the left shows the South side with all the mouldings in place.
Great fun (NOT!) was had fitting the inter-panel mouldings on the South side where the modifications made to the
coach by BR caused the windows to be in different positions behind the bar and in the kitchen. This meant that the mouldings
didn't end on the waist rail at a flattened part. Oh no. The rail was curved all the way from the start of the bar at
approximately the centre of the car length to the West (kitchen) end.
All the mouldings had to be made with scoop joints
top and bottom. Huge amounts of time were used trying to get these joints to look half decent and persuading the profiles of
the vertical and horizontal components to match up.


After completing manufacture and temporary fixing of the body light retention mouldings a start was made on the half-round
mouldings which cover the joints of the lower long body panels. Very precise mortice joints are required at the outer corners
and more of the "scoop" joints where the centre moulding meets the end verticals. Oh joy! The mouldings are fixed to
the coach body frame with 30mm brass pins - a flexible brown sealant is laid in two thin beads either side of the panel joint
before the moulding is fixed in place. It is a three man job to line up the (long horizontal) mouldings prior to pinning as it
is all to easy to get a ripple in the alignment.
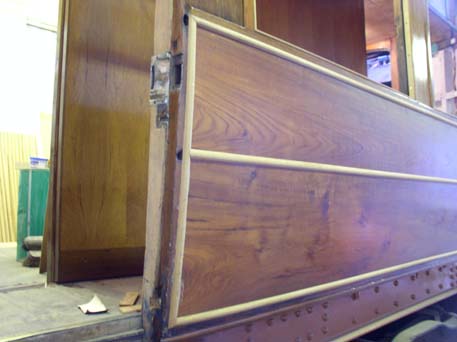
This photo shows the first section to be tackled - the panelling on the North side outside the corridor. The mouldings have not
been sized or varnished here - hence the very pale appearance compared with the sized and varnished main body panels. It is
definitely beginning to look more like a coach now!