During January and February 2006 effort was diverted away from 644 to help
with the annual preparation of the Railtour carriages. This year, FO 3096 was chosen for a major internal refurbishment and
the 644 team was involved in the stripping out of the table lamps from 3150 (the green FO) and installation of same in 3096
while the carpets and seats were out for replacement and recovering. Many thanks to Jim, Alan, Mike and Robin for their
sterling efforts in getting the transfer done in just a couple of days.
Jim Ormiston stripped out the filler between
the ceiling panels of 644 for replacement as the first attempt had started to crack and flake - the correct material will
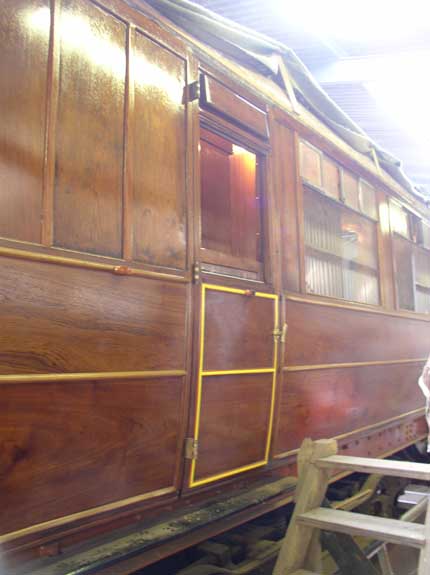
be used this time! The exterior doors rebuilding was largely completed and have been lined out by Dave Simpson. The final
bits of flexible filler applied to the exterior mouldings of the coach by George and Jim.


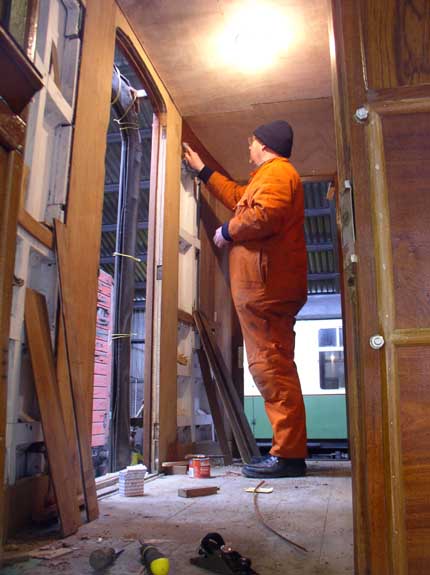
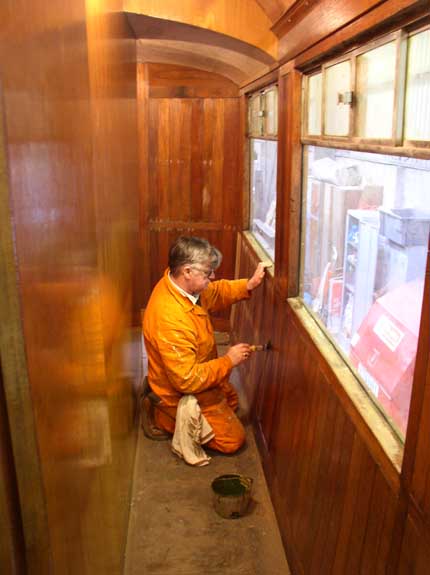
Attention was next moved to the tongue and groove panelling for the corridor and end vestibules. This was sorted to find what was re-usable from 644 and also the Crawford TK. Not enough was the conclusion, so more was made by Don from offcuts. Still not enough (especially the longer upper boards). We decided to start fitting it anyway to see how it went. First job was to apply aluminium primer and firecheck to the reverse side. The board was then cut to length (if too long) and a 45 degree chamfer made on the ends to match the sides. Holes were then drilled for the brass pins and finally the board pinned in place. Jim Summers has been doing a great job in the corridor. Don did the west vestibule and has started on the east vestibule. Getting the tightly curved horizontal pieces glued successfully in place proved a challenge. The triangular pieces to complete the job above the T&G boards was made from a piece of venneered ply glued to a piece of plywood then bent to shape and clamped thus while the glue set. Very successful, especially after Dave S. stained the veneer down to the same shade as the rest of the end boarding. Horizontal mouldings have been put in place above the corridor to cover the badly marked cantrail. Discovery of a photograph of 24082 (also diagram 167, built York 1936) prompted us to fit another moulding above this one - some spare material of the correct shape was found in the shed and Alan cleaned this up prior to fitting.
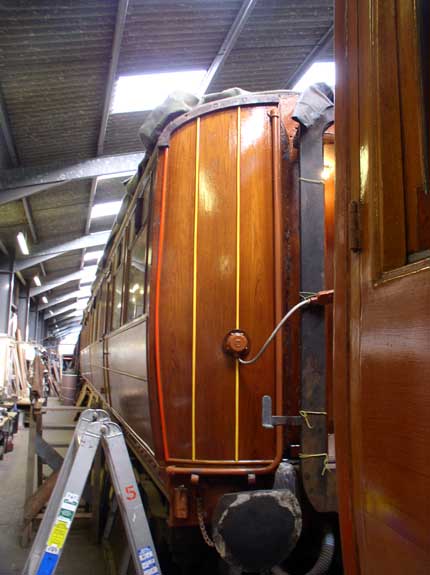
Robin re-fitted the RCH terminals and undertook the challenge of getting the wires in the correct order. This is MUCH more difficult than it sounds! However, after much humming and hawing, the wiring was completed and the terminals, cables, connectors and covers fitted. Next job was the creation of the wooden "pouches" used to store the RCH connectors when not plugged into the adjacent vehicle. The backing plate for the pouch was easy to source as it was 3/8" thick (exterior panel offcuts), but the body was a bit more difficult. Alan Wilson spent a "happy" day sawing up some recovered framing to obtain some solid pieces big enough to make the new housings from. In the same week, the exterior doors were refitted. All fitted beautifully except for no #2 door which had a bit of a gap on either side. One was left wondering whether the door was the original or not. We will have to alter the door aperture as it is too wide for the recently fitted door lock to operate correctly.


The lining of the exterior was started in March 2006. This picture shows the process. First the moulding is masked off near the extremities and vermillion is applied (left hand moulding). After this has dried, the moulding is masked off again to leave a rather narrower stripe this time and primrose is applied to give the effect on the two other verticals. It all looks rather brash when freshly applied, but the end result would please a certain Sir HNG.