
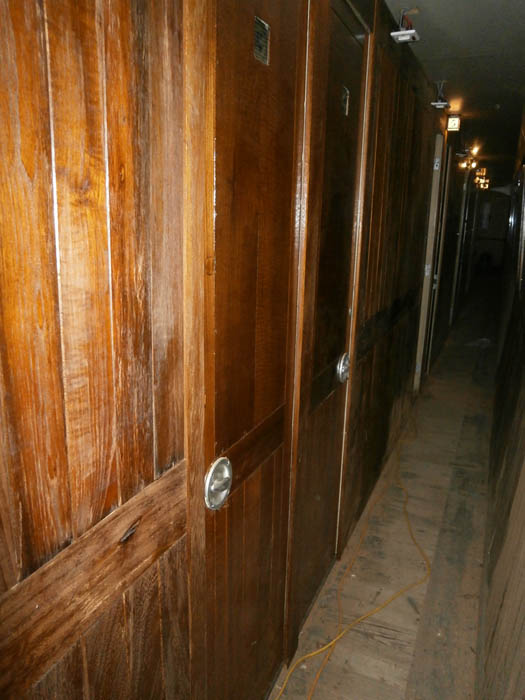
Through the summer of 2019 the panelling of the corridor was continued. This stretched as far as cabins 5 and 6. As well as making planking for the corridor/cabin partition, the south exterior wall was repaired and panelling refurbished or replaced as necessary. A single coat of gold size was applied to all the planking as a protection against ingrained dust and grime while work on the cabins continued. All of the teak used for the panelling was recycled, either from the original exterior cladding of 1211 or from material obtained from the school demolition.
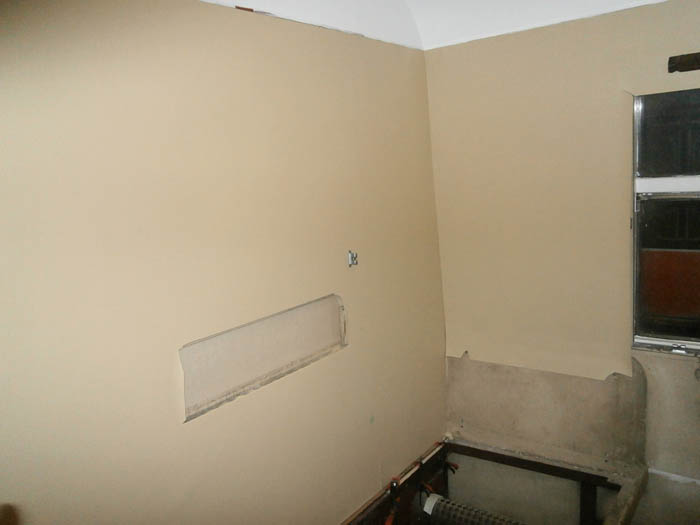
After smoothing and sanding the Formica walls (for key) cream coloured leatherette cloth was affixed
thereto using liquid PVA adhesive. While not as strong as impact adhesive it did allow adjustment of the hung cloth which,
let's face it, you'd never get into exactly the right position first time!
The fold down shelves and the fixed shelves at the bedhead end were covered on one side with leatherette and painted
in eggshell cream on the other side. The edges were trimmed with chrome strip obtained from a car customisation company.
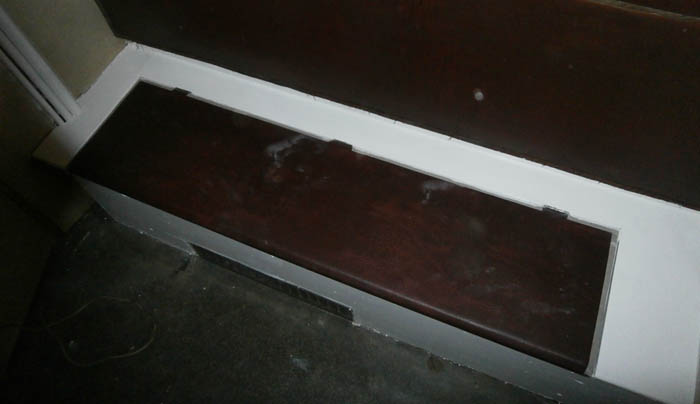
John Russell made the new hinged Attendant's seat. To cover the top surface, some maroon leatherette
cloth was used padded underneath with 2 layers of carpet offcuts. The cabin interior was cleaned and several surfaces
painted in white gloss.
The original coffee/tea boiler was missing when the carriage arrived at Bo'ness leaving an embarrassing gap in the
Attendant's infrastructure, so a spare mini-boiler was adapted to fit in the vacant space. A power socket for the
kettle was discovered under the upper cupboards complete with a tell-tale pilot light. After cleaning up the corroded housing,
this was adapted with suitable LEDs to add interest.
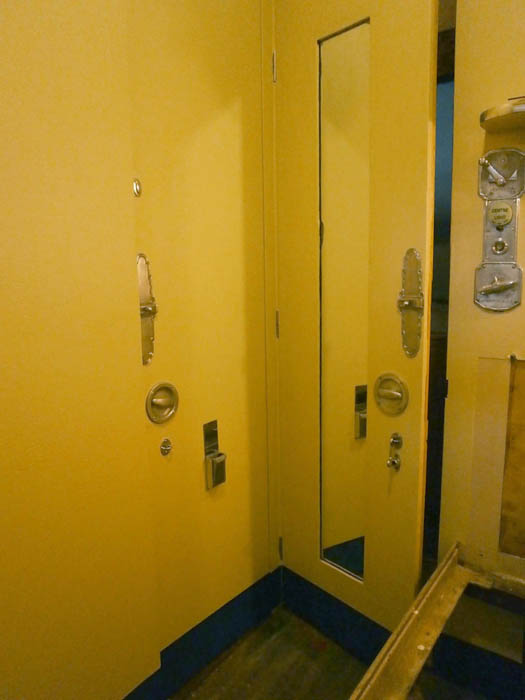
Applying cloth to the cabin door was a long-winded process. First the door was removed from the sleeper
and taken into the workshop. As the cloth had to be formed round the edges of the door, the door had to be reduced
in size to make allowances. This was done with a router and a power planer - about 2-3mm removed from both long sides and the top.
The Formica side was roughened with a sander. The cloth was stuck to the flat surface of the door using liquid PVA. This
was allowed to dry completely before the edges were folded over and secured with impact adhesive or staples.
The edges were finished off with stick-on felt strip.
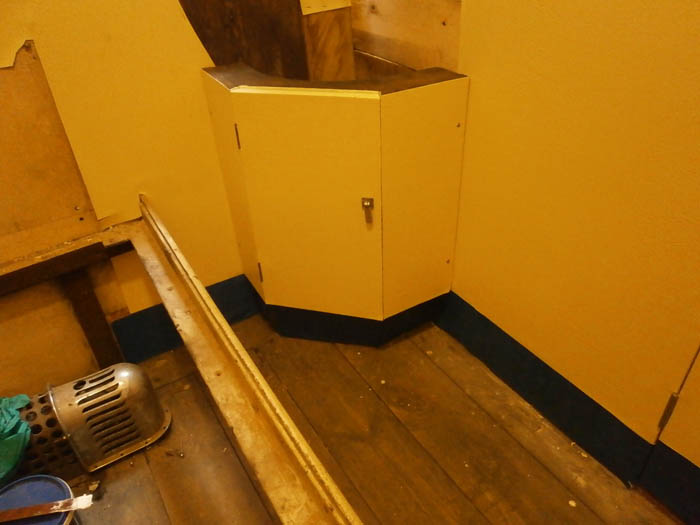
Once cabin 5 wall covering was complete it was time to start putting all the removed furniture back in place. The windowed cupboard designed to hold a water bottle was refurbished then screwed back in place above where the washhand basin goes. The pedestal for the washhand basin was also refurbished and is seen partially re-installed beneath the window.
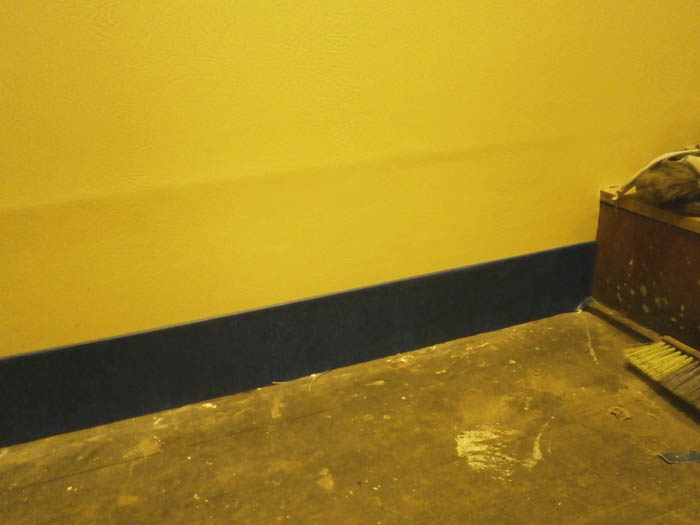
The wall covering in cabin 6 progresses. As there is no bed fitted in cabin 6, skirting boarding was required to trim off the lower end of the walls. Blue leatherette cloth was used for this. First the top edge of the cloth was glued to the top of the back of 3mm plywood which had been cut to length. The plywood was then screwed to the wall while the cloth was held up for access. Finally glue was applied to the front face of the plywood and the cloth stuck down then trimmed at floor level.