
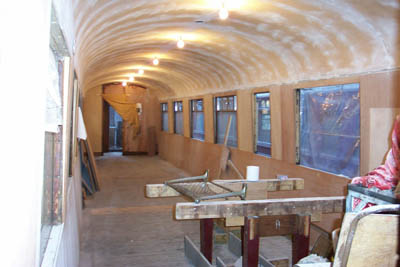
This sequence of pictures was taken in late 2002 by Jim Ormiston who is a member of the painting team. Eventually all the ceiling panels were put up in the saloon. We lost count of screws when the number went over 1000! After screwing up the panels, the screw heads were filled and then sanded down. This highlighted all the places where there was still panel movement, so out came another packet or two of screws. Finally, after refilling and sanding, the decorating team were satisfied.
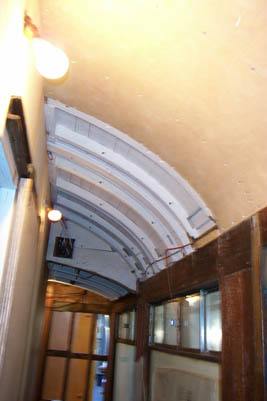
A start has also been made on the ceiling in the corridor. Here the first panel which butts up to the saloon partition
can be seen. After the first panel went up an order was put out for more 4mm Birch plywood, but no-one in our area seems to be
able to supply it in the required 10' x 5' sheets.
The decision has been made to hide the passcomm chain behind
the ceiling panelling. The handpull is mounted flush to the ceiling above the corridor door.
The next stage in the process is to skim the ceiling and here Mr Dave ("the paint") Simpson is seen hard at work smoothing over the panel joints after all the filler had been painted with primer.
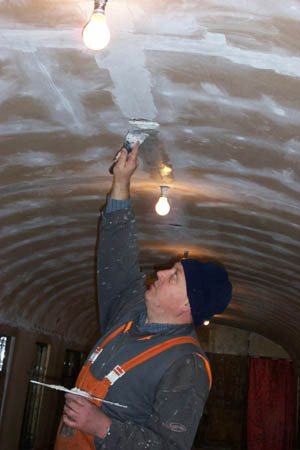
The next stage in the process is to skim the ceiling and here Mr Dave ("the paint") Simpson is seen hard at work smoothing over the panel joints after all the filler had been painted with primer.
It has not been possible to continue work on the internal wall panelling as the outer teak boarding has yet to be fitted. The ceiling, however, does not conflict with external cladding work, so progress is being made in this area.
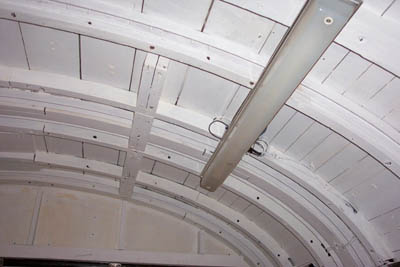
The kitchen ceiling has been painted with firecheck ready to receive its Birch plywood panels (when we can source them). As you can see from this photo, we will be using fluorescent fittings for the kitchen illumination. As the interior of the kitchen is going to be lined with stainless steel to meet HSE requirements, there is little point in sticking to 1937 lighting practice. The fluorescent system has the double advantage of a) far greater efficiency and b) the diffuser will catch any glass in the event of a bulb burst, so protecting the workers and the diners' food!
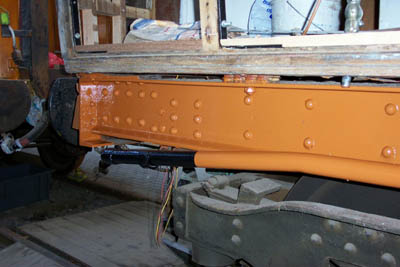
The solebar has benefited greatly from Jim's work with the needle gun.
This view shows the final? colour.
The knee joints which were in reasonable condition have all been needle-gunned and painted in primer as the view below shows.
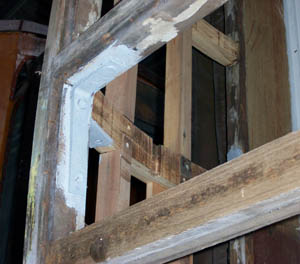
Here is a shot of George applying some of the primer to knee joints at the east end of the coach.
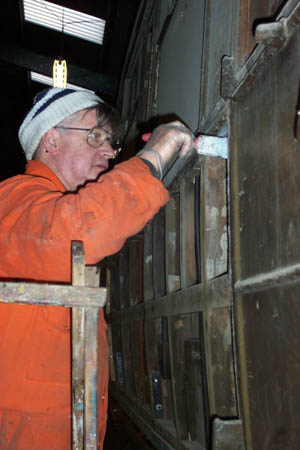
The south side
of the coach shown here was largely untouched up to this point - cleaning of the framing and recoverable panels has now started.
The cleaning of the framing involves removing the thousands of nails and screws, then scraping the old paint and varnish off,
followed by planing and sanding down the timber.
During the cleaning of the timbers, it was discovered that some of the
teak panels were held in place by solid framing both sides, so how on earth was the thing put together? Were the panels slid
in from the top before the cant rail was put on?
The bottom line for restoration is that the captive moulding will have to
be planed right off on one side to allow a new panel to be put in.