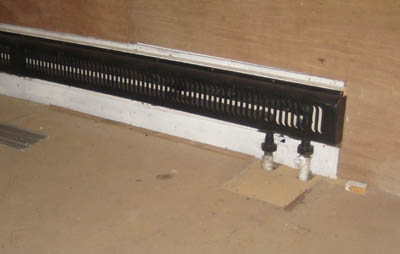
The steam heating pipes have now been plumbed into place with some sterling
help from Kenny and Alex of Romney hut fame. This has allowed the hardboard covering of the floor to be completed prior
to the arrival and fitting of the ordered linoleum. Bob Logan was instrumental in fitting the awkward patches round
the descending steam pipes. Another job which we were able to complete was the fitting of the cowlings which cover the
steam pipes - this was another task which we are pleased to have completed prior to linoleum laying. Reg, Jim and Dave of the
paint department primed and painted the cowlings which look very smart now they are in place. Much appauling language was
heard during the fitting of the cowlings due to the annoying flanges and "sticky-outy" bits on the steam pipes
preventing easy fitment of the panels.
New Bowden cables have been purchased and threaded through the floor behind the
bar ready to connect up to the steam control valves.


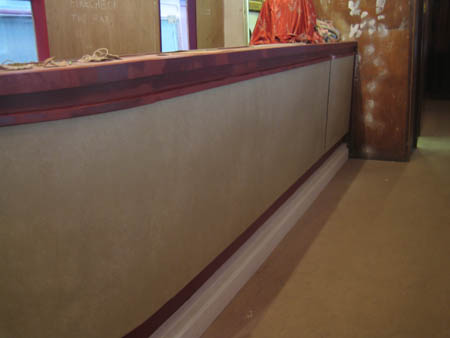
The bar vertical surface has been covered in leatherette and the top edging painted. The lower skirting board has been manufactured and fitting was in progress in August 2007. The part of the skirting which goes round the curved section of the bar was fabricated by glueing several sheets of thin material together, then clamping them into the correct curve while the glue set. After this, the section could be built up to the correct thickness by glueing several more sheets of thin material to the original (curved) piece.
The access panel for the front side of the boiler has been redesigned and now the full height
of the bar front will hinge out for inspection and adjustment of the boiler. The panel is kept closed by a vertical quarter-round
moulding screwed into the bulkhead at the far end of the bar.
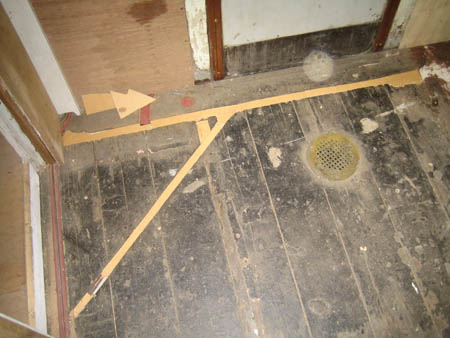
The kitchen floor has been patched and filled to allow the fitting of a hardboard covering needed beneath the linoleum. Alan and Robin have spent many happy hours with bits of wood and filler to make the surface far more even than the mess which was left previously. For example, the cheap and cheerful method of laying a pipe across the kitchen in BR days was simply to gouge out a channel in the top of the floor boards instead of the much neater "drill two holes and run the pipe beneath the floor" method. Another trick seems to have been that if a drainpipe was moved for some re-organisation of the kitchen, the floor hole through which it used to go was just left gaping when it was moved to a new site!
All makes work for the restorers!


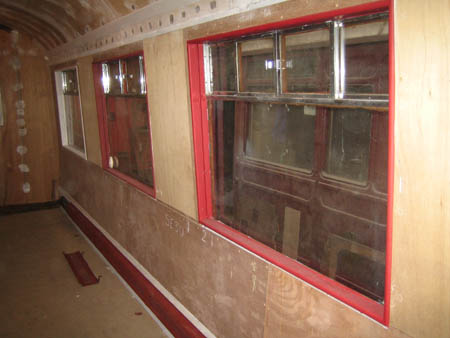
The plywood panelling between the waist rail and the cantrail was being finally screwed into place in August 2007. The next stage would then be to complete the filling of the ceiling, paper that and fix the leatherette cloth to the walls. The junction between the ceiling paper and the wall cloth is behind the picture rail which was manufactured and screwed into place in July 2007 then subsequently undercoated in white as seen in this view.
As can be seen from this photograph, George Craig has been busy painting the internal window sills. These will have to come off one more time when the leatherette cladding is fixed to the plywood, but after that they will be permanently screwed into place, filled, sanded and given the final coats of paint.