
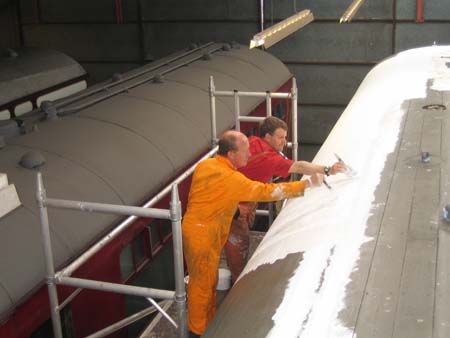
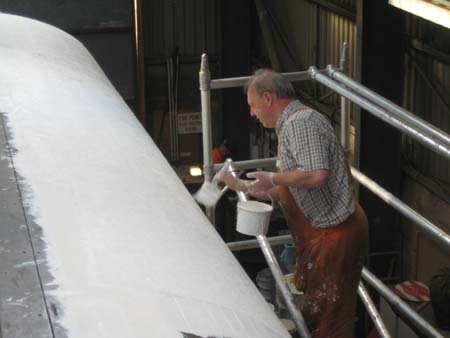
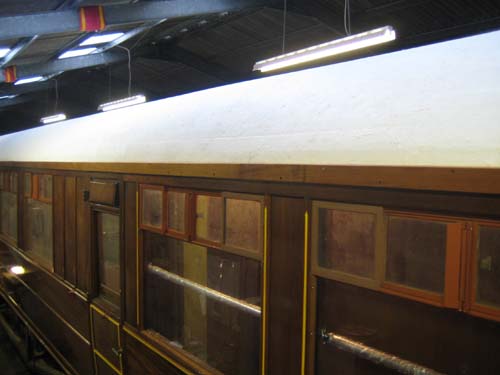
The big job during the Autumn of 2006 was the application of the roof covering. After filling and sanding the roof boards really smooth, Dave Simpson and his team (some of the non-painters as well) first attached a plastic curtain round the coach held on by masking tape at the cantrail to keep paint splashes off the varnished panels. They then applied a special grey primer paint to the roof. This was followed by firecheck which was used to glue "bandage" tape across some of the larger londitudinal gaps between adjacent boards. Next more firecheck was applied in approx 1m2 areas and fibreglass matting was laid on top then stippled to the roof with more firecheck. Two teams were used - one doing the north side, and one doing the south with D.S. and J.O. filling in the middle section which was unreachable from the mobile scaffolding on either side of the coach.
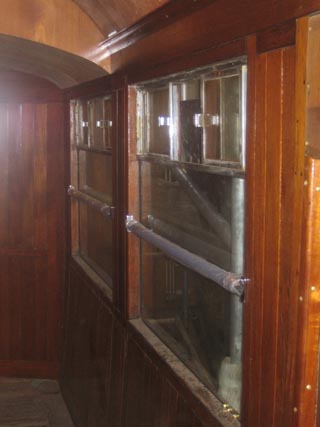
As work in the corridor was now at a much lower level, two of the chromed window bars were put in place - it was felt that the potential for damage during the rest of the restoration period was sufficiently low for this to be a suitably good morale boosting exercise. The shipping polythene was left in place "just in case". As Jim Summers remarked "They make the coach come to life somehow".
It was decided to split the internal plywood cladding just above the top of the steam heating pipe cowlings so that the steam heating pipes could be fitted in place while allowing the flexibility to remove the boarding further up when it comes to fitting the Rexine (or similar) interior cladding. This highlighted the fact that the steam heating bracket support members were not continuous round the coach so RCN and Jim set about manufacturing and fitting the missing parts. These would also support the long horizontal joining edges of the upper and lower plywood cladding sheets.
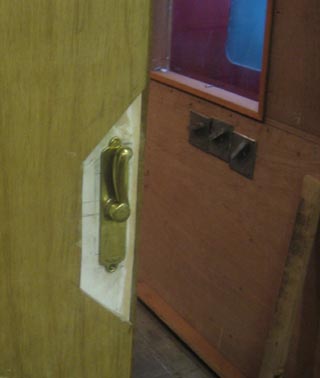
After a long fight the door catch on the bar sliding door was persuaded to catch properly. Jim spent many hours sanding and adjusting before the catch would engage properly. It is amazing how a seemingly simple task can consume so many hours - half the problem with this one was that you coudn't see what was happening (or not!) when the door closed because of the recessed nature of the door jam.
A lock, modified from a standard 21 lock configured for a Mk2 sliding door was fitted to the corridor sliding door - this is the same lock being used in the bar sliding door. Chris built the artificial floor which raises the height of the barman or barwoman by 3 inches - this assembly was placed behind the bar and linoleum courtesy of the DMU group laid on top to complete the flooring.
Mahogany was used to make the external cantrail moulding to complete the long edges of the roof. The long mouldings had to have sloped edges top and bottom to divert the rain away from the coach sides. Dave and Jim (O) varnished the wood prior to installation. The curved pieces (3 each end) of the cantrail assembly were fettled up and painted prior to drilling and assembly onto the ends of the coach to complete the roof ends. The end pieces were the originals which broke during removal as they were secured with steel screws (thankyou BR). Four out of the six repaired pieces fitted perfectly but the one where the end block piece (matches with cantrail) had been broken off did not and required an extra piece of teak glued on, then a bit of tweaking before it too was secured in place. The centre piece which goes above the gangway for the East end of the coach had disappeared without trace so a new one (using the West one as a pattern) was manufactured and fitted just fine!