
Spring/Summer 2021
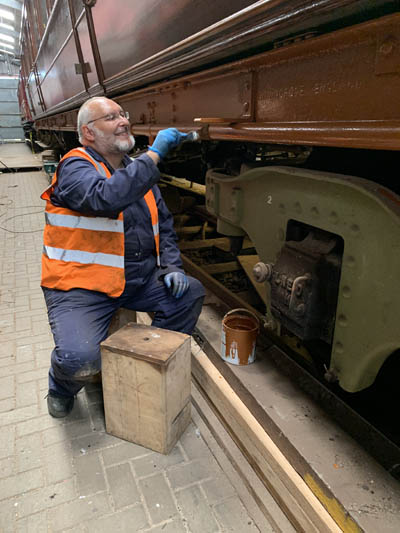
After the solebar
was completely undercoated gloss was applied. This made an amazing
difference to the appearance of the chassis. Once this job was completed, the foot boards could be fitted.
We discovered that not quite enough footboarding had been made up (a year or two ago) so more had to be made. One
length proved to be sufficient, but then all the boarding for the north side had to have lap joints made at
both ends. Prior to fitting the undercoating of the boards was completed then gloss black applied.
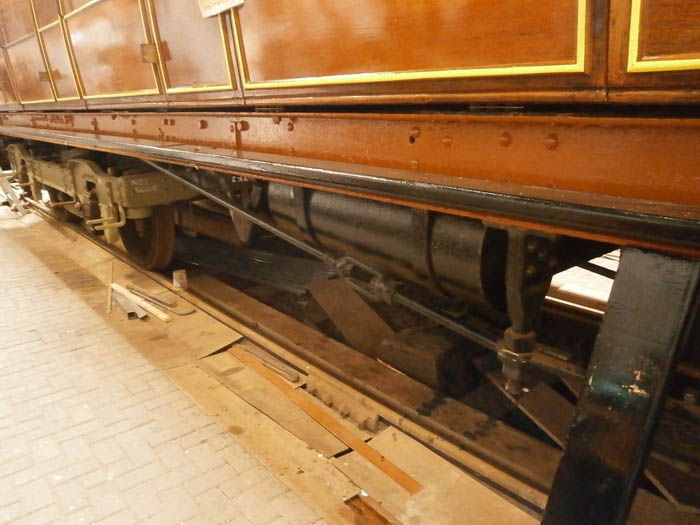
The second (north side) vacuum tank was fitted by Messrs. Williams one Thursday evening. It was necessary to get this done before the foot boards went back up as access would become a problem. One Williams (senior) held the tank up in place while the other Williams (junior) got the bolts through the solebar and brackets and fitted the nuts and washers on the inside of the solebar.
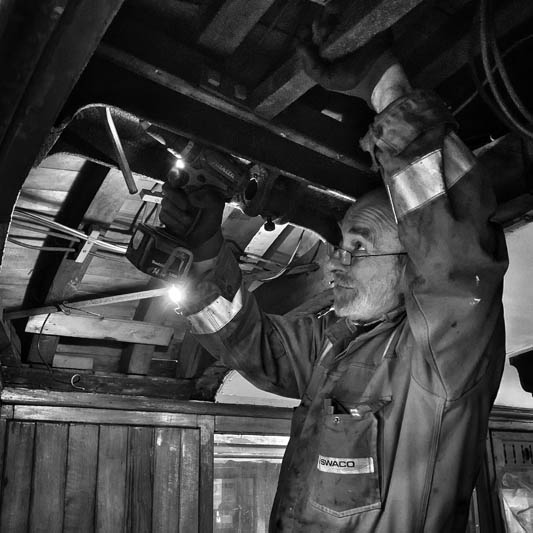 |
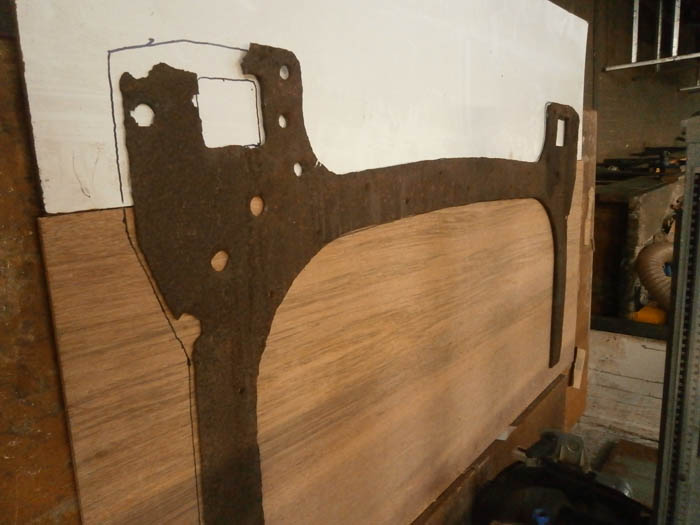
The two damaged castings which house the gangway springs were removed from above the ceilings of both toilets. After taking the ceilings down to allow better access, this became a very noisy job as the 4 studs holding the gangway faceplates against the castings were very reluctant to come free. Brian's big hammer was put to good use! Eventually the bolts were freed and the gangway faceplates taken down. These were very badly corroded and needed replacement. The two broken castings were welded back together by Mark Ashmole, then bolted back into place above the ceilings. Below: one of the removed arch plates, just slightly corroded. |
| |
After undercoating and glossing several lengths of pipe, these were sawn to size and fitted along the inside of the north cantrail to house the passcomm chain. These pipes continue into the toilets at both ends, but this part was not secured until the toilet ceiling, where it meets the cantrail, was finished to profile.
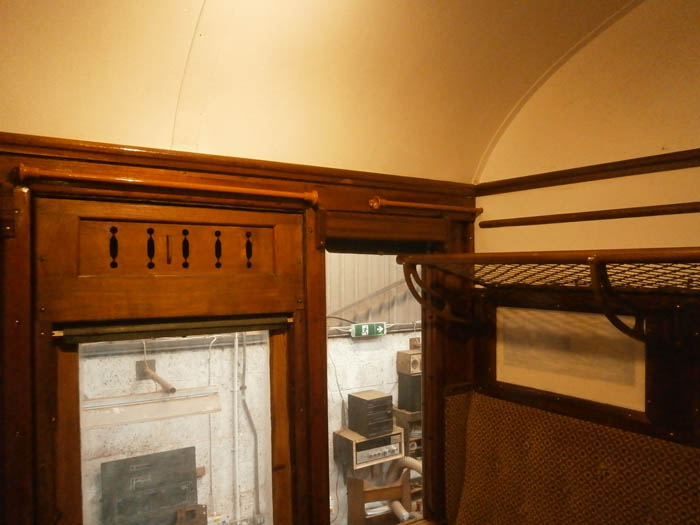
The luggage rack netting was strung. Sounds easy when you say it quickly! A stringing jig was made up on a large piece of scrap plywood. The larger front pole was drilled to accept several hooks, then the end dowels were drilled and screwed to the front pole. The netting, which came as one long continuous roll was then threaded on to one of the front-to-back dowels. Next the back (smaller) pole was threaded through the netting. A length of fence wire was then threaded through the other (front) side of the netting and clipped behind the hooks in the front pole. The second end dowel was then threaded through the netting to finish with a taut structure. After cutting off the excess length beyond the ends, the knots near the loop ends were daubed with PVA glue to prevent unravelling.
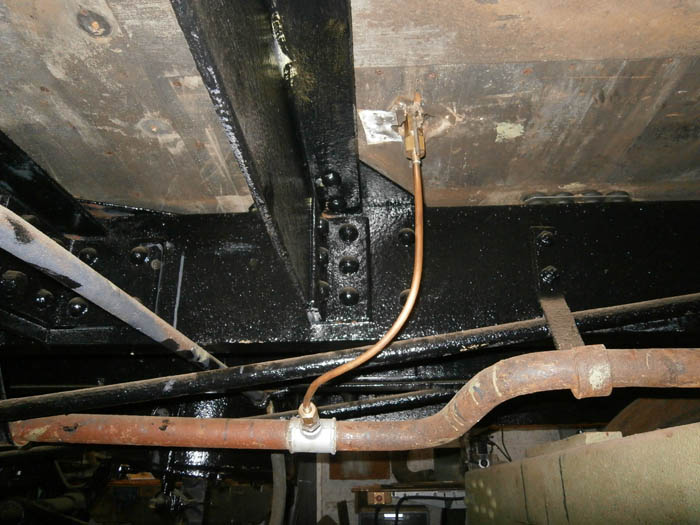
The compartment steam heaters were linked to the main steam pipe beneath the floor. After drilling out
the fittings to accept 10mm od. pipe, these were soldered to the measured lengths of pipe then screwed on to the main
steam pipe and the inlet to the heater which projected below floor level. A "relatively" straightforward job when
working in the area between the bogies, but a bit of a nightmare for the compartments which were above the bogies.
Please don't forget the Gresley TK appeal
