
Autumn 2020
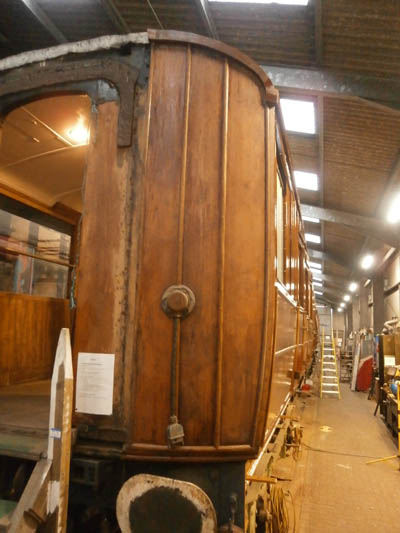 After fitting the south side cant rail, Don turned his attention to
the ends of the carriage. First up was the
north east corner as it was closest to the wood working machinery! The incredibly weird-shaped cant rail moulding was the first
thing to be trimmed and screwed into place with a generous dollup of brown sealant behind it to prevent moisture invading the
small spaces between it and the curved end of the carriage.
Replacing the tightly curved bottom moulding proved tricky. Would the 30mm brass pins be man enough for the job of keeping
the moulding in place when brown sealant was used against the panelling? Extra G cramps were used to hold the moulding in place
for 3 days while the sealant set. On removal of the cramps, the moulding stayed in place. Tried the same trick on the SE corner.
No go. Had to glue and pin the moulding to keep it in place.
To play safe, the bottom curved mouldings at the west end were glued as well as sealed. Over the gangway door a rusty plate is
visible. This plate is held in place by a system of metal wedges which proved very difficult to free off to allow removal
and replacement of the plate.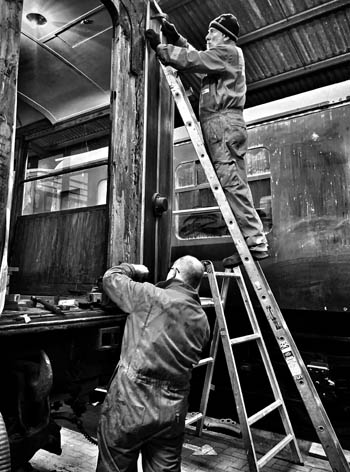
Around 200' of corridor/compartment window mouldings was manufactured before any of these windows could
be fitted. Drilling these mouldings for the 20mm pins used for securing required making a special "V" shaped jig so the drill
press could be used to accurately position the holes at an angle of 60°. These mouldings were then pinned and glued in place on the corridor side of
the glass by Graham. The compartment side (of the glass) components were then unscrewed and the glass put in place cushioned by sealant.
Fitting the glass proved quite tricky and John had to make various components to get all the windows to sit nicely as some of the
framing above window height was not lined up evenly all along the corridor.
After Ken had trimmed and fitted the window armrests in all the compartments, his attention was turned to the top trim at the other (corridor) end of the seating. He made 14 of these trims from spare pieces of teak, gold-sized them, tidied up the trim, then they were screwed in place. Around this time, quotations were being garnered for the supply and fitting of the flooring which would have to be laid before the seat cushions were put in place.
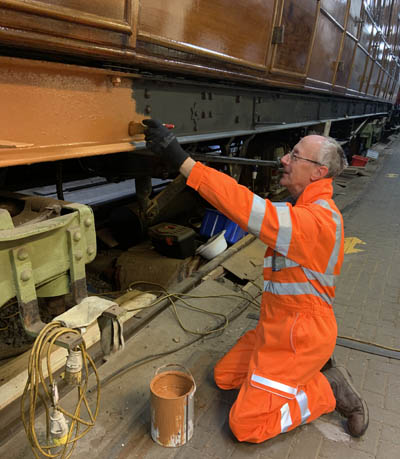
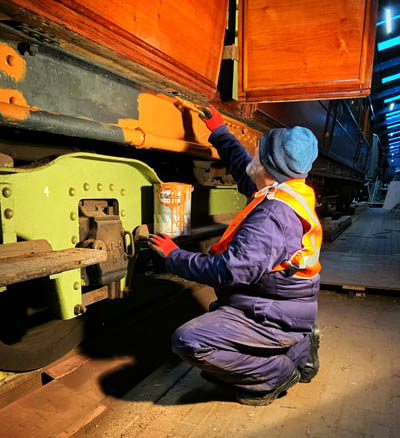
Solebar, headstocks and piping
have to be finished in teak brown, so Peter and Douglas, our latest recruit (pictured), and Muir first
applied brown undercoat to the north side, then Muir and Richard (also new) tackled the south side.
Peter drilled all the holes in the compartment bulkheads to allow passage of the passcomm (Communication cord) piping. All the original piping ends ("trumpets") were found but 5 had the fixing bracket broken off. This was replaced giving us just enough to do the whole carriage. As the offshoot (blanked off) for the passcomm vacuum pipe was located at the east end of the carriage, that is where the roof mounted passcomm valve was to be placed. Photographic research showed that the valve could be located at either end of the Diagram 23 carriages.
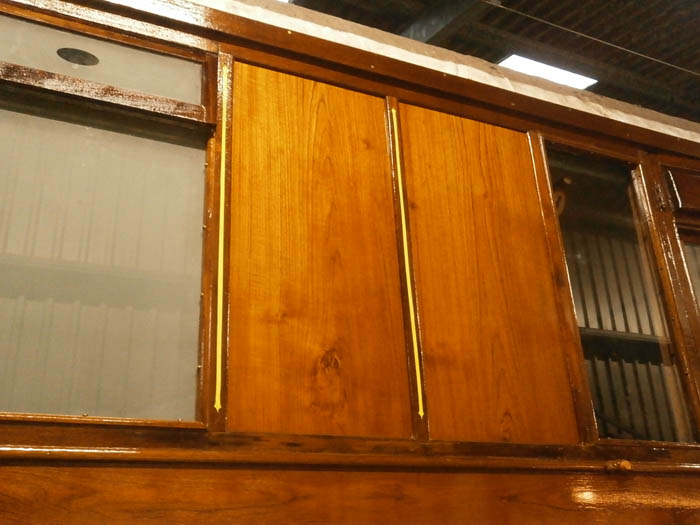
Great moment in sport occured on November 5th. Lining was started. The photo above shows Jim Summer's first two vertical "yellows" with arrowheads. Subsequently, these yellow lines will have thin red lines on either side. Only another 400-500 feet of the lining to go!
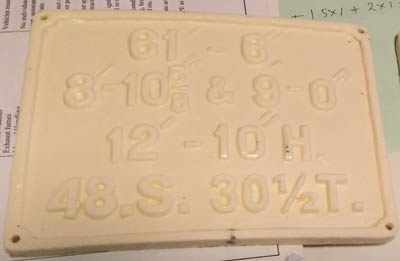
Varnishing at the west end showed up a darkened rectangle where the statistics plate used to be. This led to a search for
said plate. When we found it, the bottom line had been removed using a grinder and painted on the back surface was
"30 Tons 11 Cwts". The seating part had presumably been removed when the carriage went into departmental service. There
was only one plate, so it was decided to keep the original metal plate off the carriage and to cast two replica plates
(see left). The missing line of lettering at the bottom was re-created using plasticine - that was a fiddly job to
put it mildly. After casting the back surface of the plates was flat, not curved like the original to conform with
the 4 foot radius curve of the end panelling.
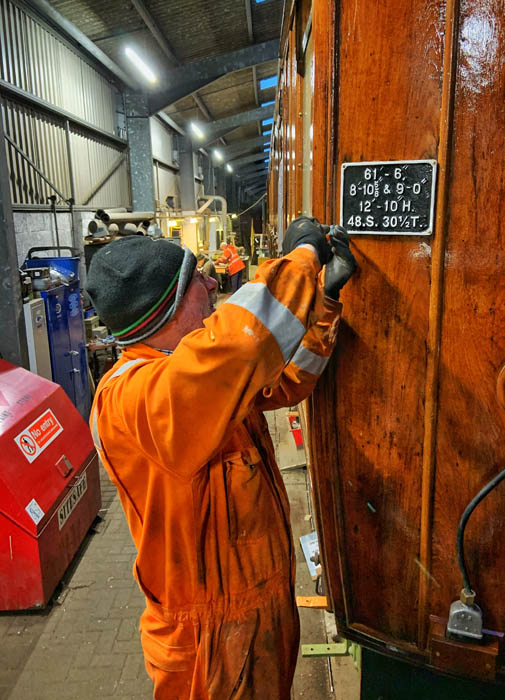
After painting, the new plates' back sides were curved by removing material from the centre area using our belt sander.
The plates were then attached to the carriage ends. That's another job crossed off the list!
In preparation for the flooring being laid, various holes, lumps and bumps in the floor were filled and sanded off as appropriate.
Tidying up the panelling in the corridor was also done, then gold-size applied prior to varnishing both the corridor and the
compartment interiors so as to avoid dripping varnish on the new floor.
The seat backs were then screwed into place to free up storage place required for Railtour refurbishment activity.
Please don't forget the Gresley TK appeal
