
Autumn/Winter 2014
We had a major shunt round in early December 2014. This was to position the coach to make it more convenient for the lifting and subsequent metal operations. Around this time a lot of effort went into improving the various steps and stairs used to access the coaches, and also further improvements to the workshop area, so effort was diverted from coach restoration activities.
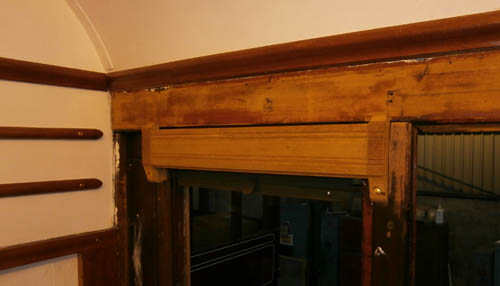
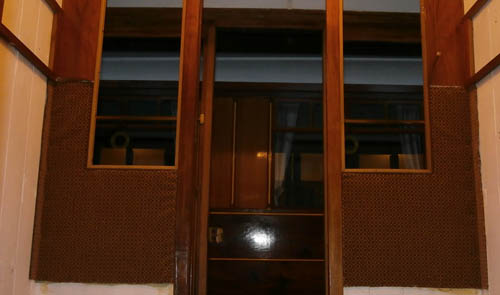
Manufacture of the mouldings which hold the glass in place on both sides of the door at the corridor side of the compartments took a while to make. The biggest problem was routering out the notches which the blinds hook into. Before fitting the mouldings in place, the moquette padding which covers the lower part of the corridor partition had to be be fixed in place - this task was completed in mid-December. The upholstery ("Fawn Rep") was padded using 6mm fire resistant foam glued to the wooden partition. Brown piping was sewed round the edges of the fawn rep, then the ensemble fixed to the wooden partition using upholstery tacks. The tacks were nailed into the window recess to give a nice edge to the padding - this entailed routering a groove in the back of the glass retention mouldings to accommodate the piping, the folded over moquette and the tacking.
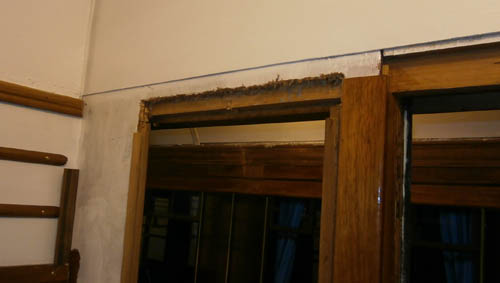
Above the corridor side compartment windows, there should be recesses to house the blinds. Unfortunately, when reconstructing the corridor partition all those years ago, the Rev. "Ted" must have overlooked this requirement and built the partition solidly from the top of the glass upwards. Al MacPhee spent quite some time up a ladder drilling and chiselling out the required recesses. The one in the photo above is, of course, not in a finished state. All those rough bits should disappear!
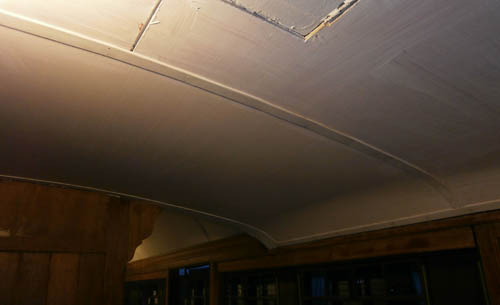
Members of the Youth Group were coerced into measuring, cutting, sanding, painting and pinning into place the flat strip mouldings which cover the joins of the vestibule ceiling panels. Much grumbling and gnashing of teeth was in evidence as the strips were quite brittle and had to be curved to conform with the shape of the ceiling. More than one piece broke and had to be re-manufactured.
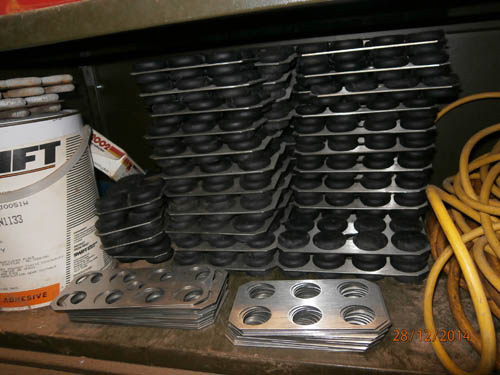
Away from Bo'ness, the assembly of the support rubbers into the stainless steel plates which keep them in place was underway. The support rubbers are remarkably hard and it took a lot of persuasion to force them into the plates. The task was made easier if the rubbers were heated in boiling water to soften them, but even then, considerable force was required to get them into place. There are two sizes of plate - 8 bung and 6 bung. The 8's have a ninth hole in the centre where one of the securing bolts goes through, the 6's go between the 8's. There are 21 plates along each solebar - 11 8's and 10 6's.